
A Comprehensive Guide to Installing an Electrical Radiator
| Last updated Feb. 29, 2024 |
Preparing for Installation
Before diving into the installation process, it's crucial to prepare adequately. Here's what you need to do:
1. Timing Matters
We recommend carrying out the installation before you decorate the room. This ensures that the radiator is installed correctly without the risk of damaging newly painted walls or furnishings.
2. Choose the Right Location:
Select a suitable location for your radiator, ensuring it's near a power outlet and away from any obstructions that could impede heat distribution.
3. Prepare the Wall:
Ensure the wall is clean, flat, and free from any debris.
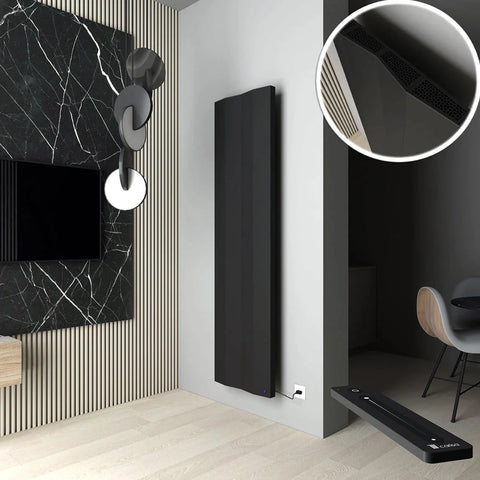
Image: Carisa Notus V Radiator above.
Step-by-Step Installation Guide
Now that you've prepped everything, let's dive into the installation process:
1. Read the Manual:
Different radiator brands and styles have varying guidelines, so it’s very important you read the manual closely before attempting to fit one yourself.
2. Positioning:
Use a spirit level to ensure the radiator will be installed straight.
Mark the hole positions on the wall using a pencil based on the template provided in the manual.
3. Drill Holes:
With the marked positions, use a drill to make holes for the wall plugs and screws.
Ensure you use the correct size drill bit for the wall plugs and screws.
4. Insert Wall Plugs and Attach Brackets:
Insert the wall plugs accordingly.
Attach the mounting brackets to the wall using screws, ensuring they are securely fastened.
5. Hang the Radiator:
Lift the radiator onto the mounted brackets carefully, ensuring it is level and stable.
Double-check the alignment before tightening the screws to secure the radiator in place.
6. Connecting to Power:
Once the radiator is securely mounted, plug it into a nearby power outlet.
If you opted for hardwiring, follow the manufacturer's instructions to connect it directly to the electrical supply. Uncertain about whether to hardwire your electrical radiator? Check out our blog for guidance on making the right decision.
7. Testing and Adjusting:
Turn on the radiator and test it to ensure it's heating properly.
Adjust the temperature settings as needed to achieve your desired level of comfort.
For Freestanding Electric Radiators:
Some radiators allow for both floor-standing and wall-mounted installation. Simply plug the heater into the nearest plug socket for freestanding installation.
Installing an electrical radiator doesn't have to be daunting. By following these simple steps and ensuring proper preparation, you can enjoy the warmth and comfort of your new radiator hassle-free. Remember to always prioritise safety and follow manufacturer instructions closely throughout the installation process. With your new electrical radiator in place, you'll be ready to stay cozy all year round!
|
|
